# Git, Gitter, Gittest! - A Beginner's Guide to Git - Part I
### How it started?
The first question from my manager on the first day of my job was, "Do you know git?", to which I replied, "Git?". He continued, "Yes git, the version control!". I had heard about 'git', 'GitHub', and 'version control' but never really knew the actual use-cases or what they really were. With slight embarrassment, I replied, "No."
That's how I started my journey with git and till now I use it almost every single day. Git is a tool that every developer must know (and every company that wants to hire you expects you to know).
### Why git?
Software development is fundamentally a collaborative job since multiple developers work simultaneously on a project.
Now, let's try to imagine a world without git (or any other version control system).
Let's say, developer X is working on a file. So, X has to make sure everybody else knows that X is working on the file. Nobody can work on this file until X finishes working. On top of that, who added what? What was edited? What if multiple developers want to work on the same file? What was the history of the edits?. You get the point, it's like welcoming a disaster!
Git helps in team collaboration, storing versions of your code properly, restoring previous versions, understanding how your project evolved between versions, acts as a backup, etc.
### Git vs GitHub (or GitLab, BitBucket, etc.)
"But what is the difference between git and GitHub?", you may ask.
When you create a project on your system, the next step will be to convert your project into a git repository since you want to upload your project to the internet.
GitHub is the cloud-based hosting service that lets you manage your git repositories i.e. this is where your project lives on the internet.
Git is the version control system that you will use to manage your code which includes uploading code, downloading code, creating a new version, etc. You will use the Terminal (if you are a Linux user, else Command Prompt on Windows) to interact and work with git.
>
Git is a tool, GitHub is a service.
### Give me a demo!
#### The Project Structure
Let's create a simple project.
The folder structure of the project `git-gitter-gittest` is given below.
```
git-gitter-gittest
- home.html
- about.html
```
The contents of the two files are as follows:
*home.html:
*
```
Home Page
```
*about.html
*
```
About Page
```
#### Creating a repository on GitHub
We have our project locally on our system. Now the next step is to create a repository on GitHub to store the project.
To create one, let's go to our GitHub account, and on the top right corner click `New repository`.
Give the new repository a name and click `Create repository`.
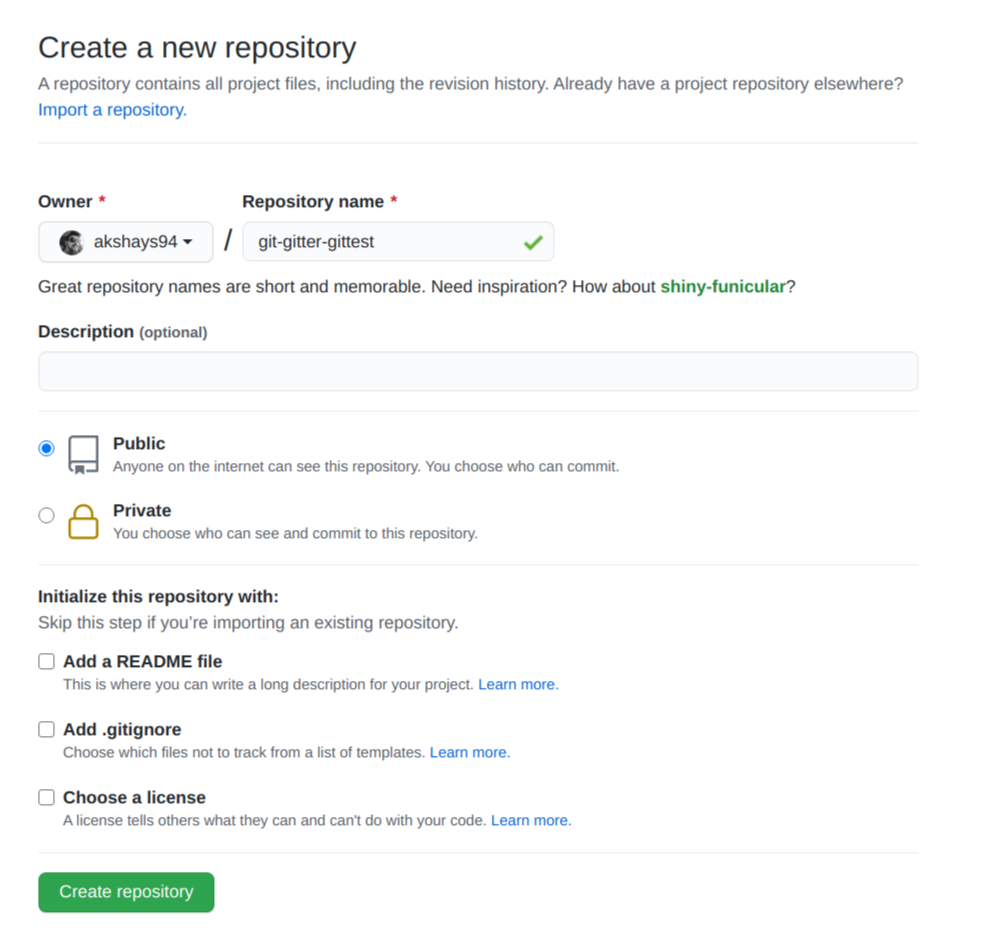
Tada! A repository for our project has been created on GitHub.
#### Uploading (or pushing) the code to GitHub
On our system, in the Terminal (if using Linux, else Command Prompt on Windows) and we change the directory to our project folder.
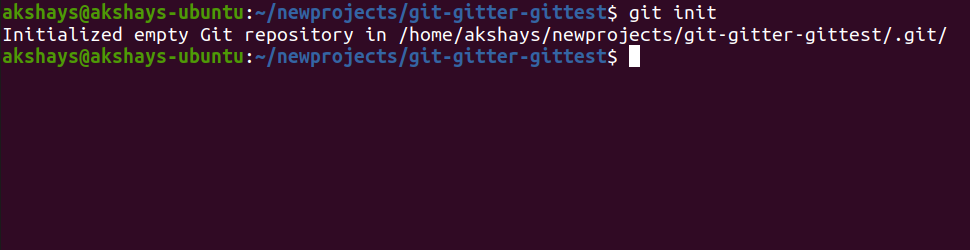
`git init` creates a repository on our system. Each project should be in its own repository.
This is the first step when you are creating a new project which you want to upload to your GitHub account.
Since both the project files are new files, git does not know about it. These are the "untracked" files.
Check the last message in the image below: `nothing added to commit but untracked files present (use "git add" to track)`
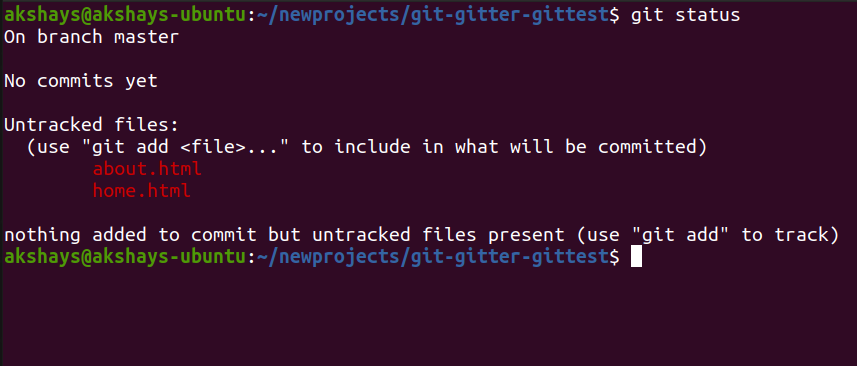
Git is prompting us to track the untracked files using the "git add" command. The `git add ` command makes the file a part of the next commit.
So now, we can run the following commands
```
> git add home.html
> git add about.html
```
But instead, we run `git add -A` because using a single command we can track all our untracked files.
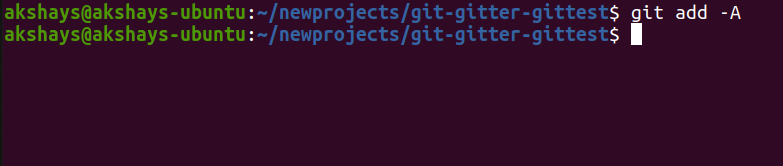
After `git add -A`, if we run `git status` again, we see our `Changes (are ready) to be committed` which means our files now are tracked or "staged" for commit.
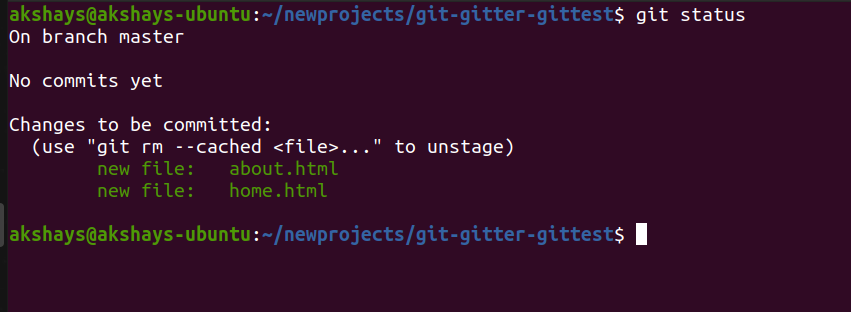
The `git branch` command can be used to view our branches. By default, we always get a `master` branch and since we are currently on this branch, it shows a `*` before `master`.

The `git commit -m ` takes a snapshot of our staged changes i.e. our files (home.html and about.html) and gives this commit a message/description that we provided.
Once we run the commit command, it displays the branch name `master` on which this commit was committed (more on branching in part-2), the commit ID `6198afd`, the commit message `First commit`, and the changes in this commit.
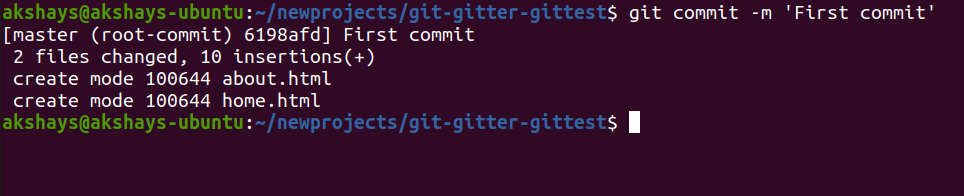
This commit command saved our changes in our local git repository and *not on our remote server i.e. in our GitHub repository*.
Also currently, our local repository has no idea which is our remote repository.
We can add a new remote using the `git remote add ` command where `remote-name` is a unique remote name ('origin' is used widely) and `remote-url` is the URL where our code is stored (or will be stored). We can find it in our newly created GitHub repository (check the image below).
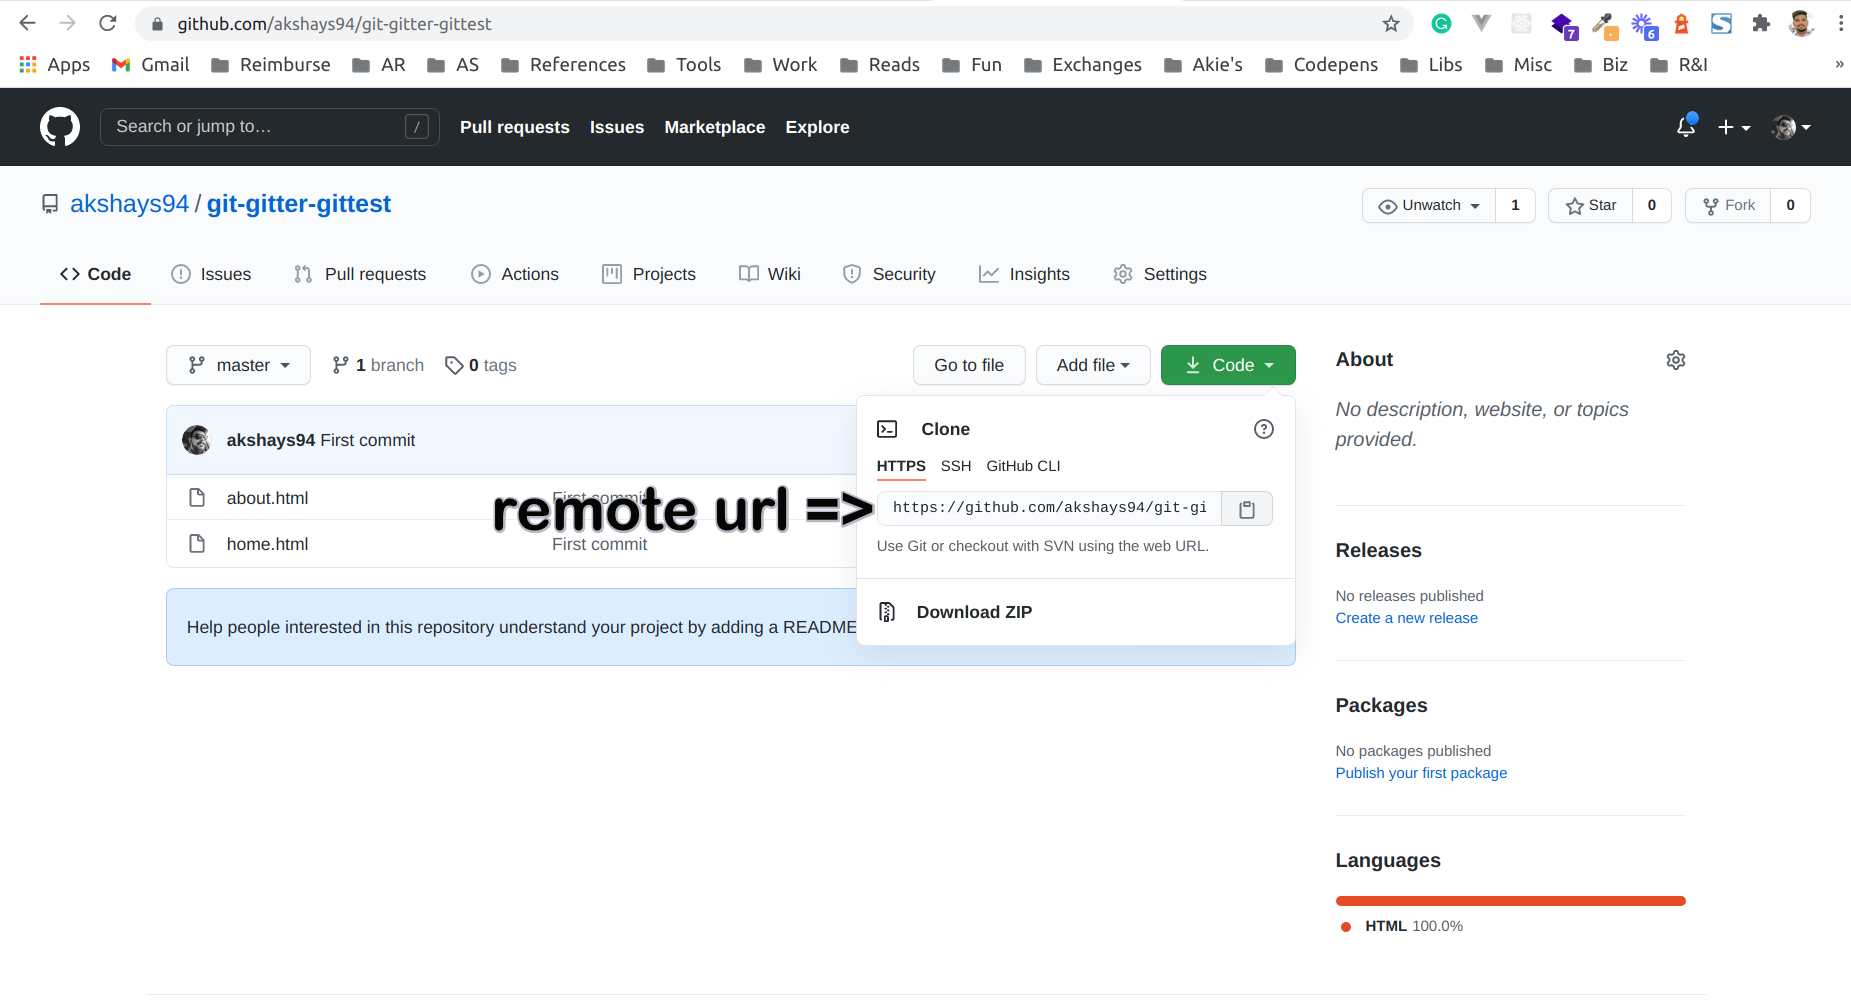
Now we run the `git remote add origin https://github.com/akshays94/git-gitter-gittest.git` command to add our new remote.
This remote can be used to upload (or "push") our code to our remote repository i.e. our GitHub repository.

We use `git log --oneline` to view our git commits in one line.
Each line displays the commit ID `6198afd`, the branch name `master` and the commit message `First commit`. The `HEAD` is the pointer that points to the latest commit.

Finally, we use the `git push ` command to push our code to our GitHub repository.
We provide our GitHub credentials and our code is pushed to the `master` branch.
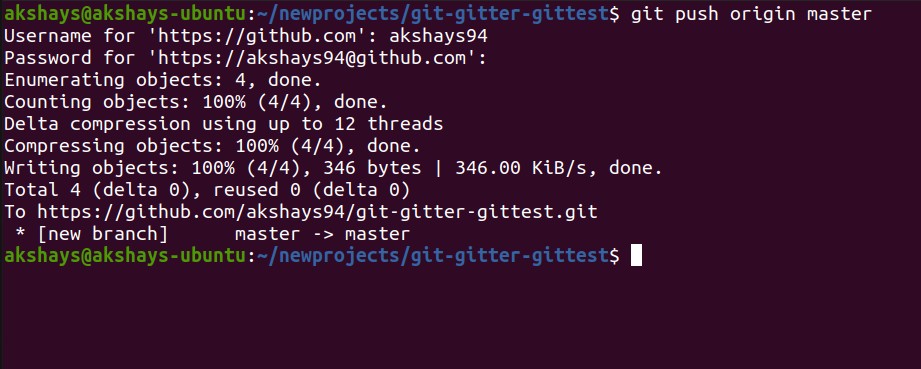
Great! We have successfully pushed our code to our GitHub!
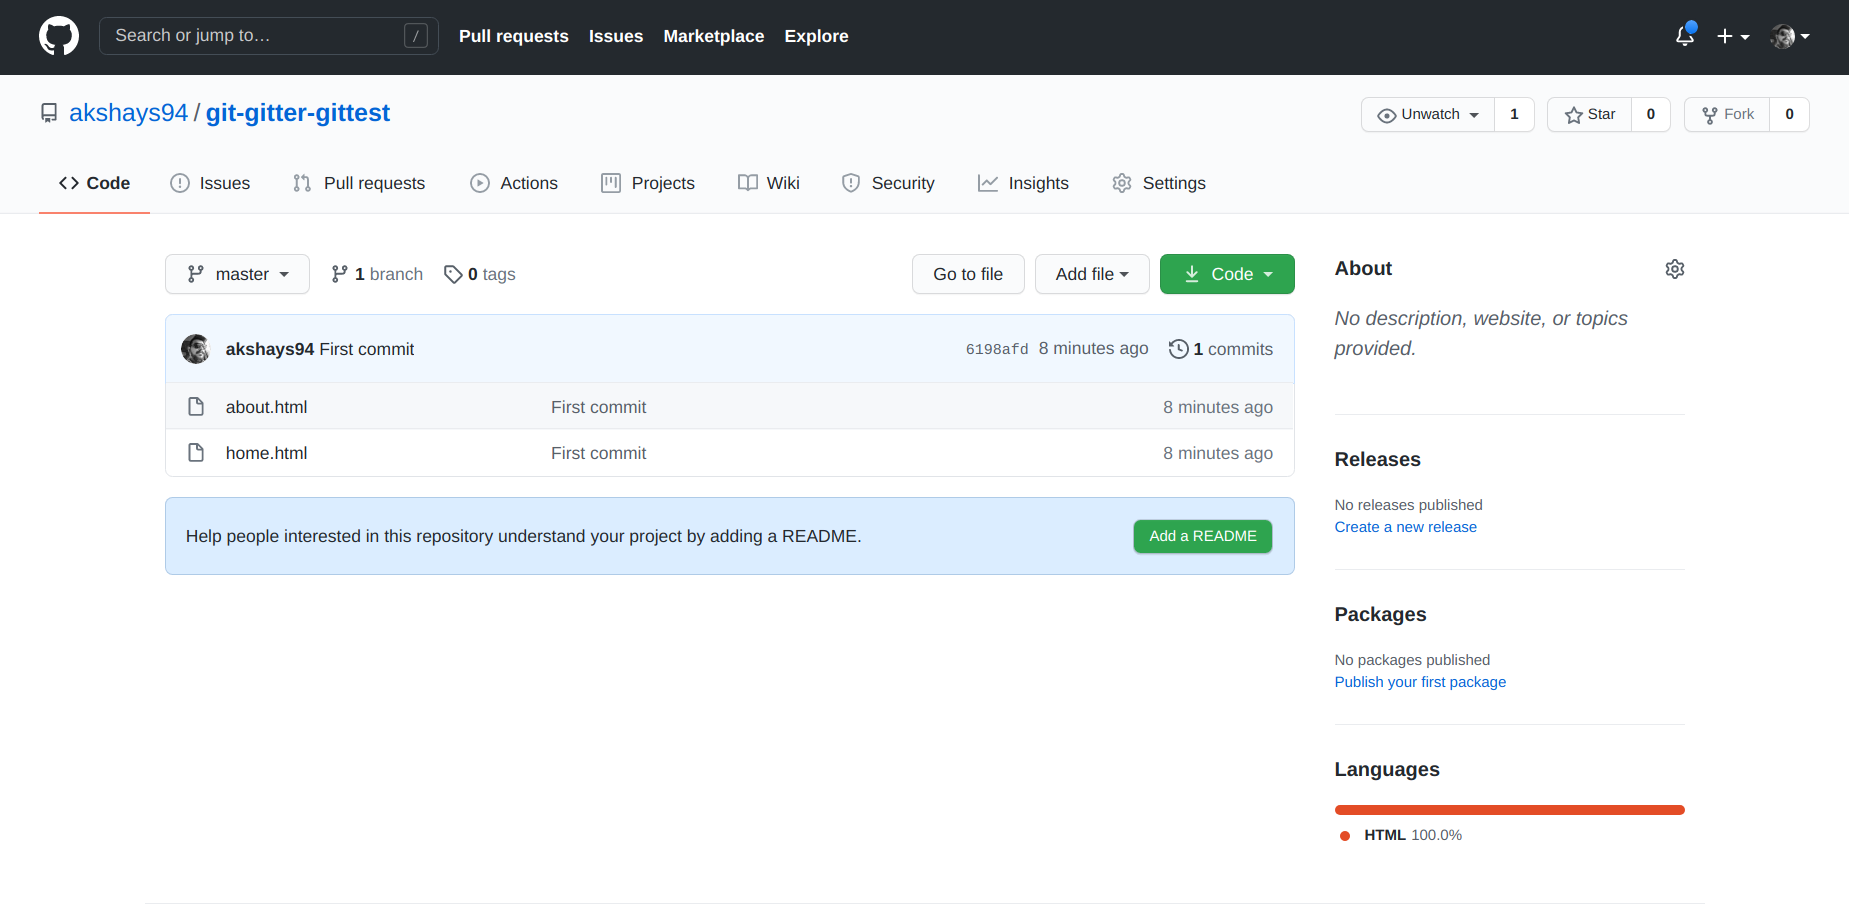
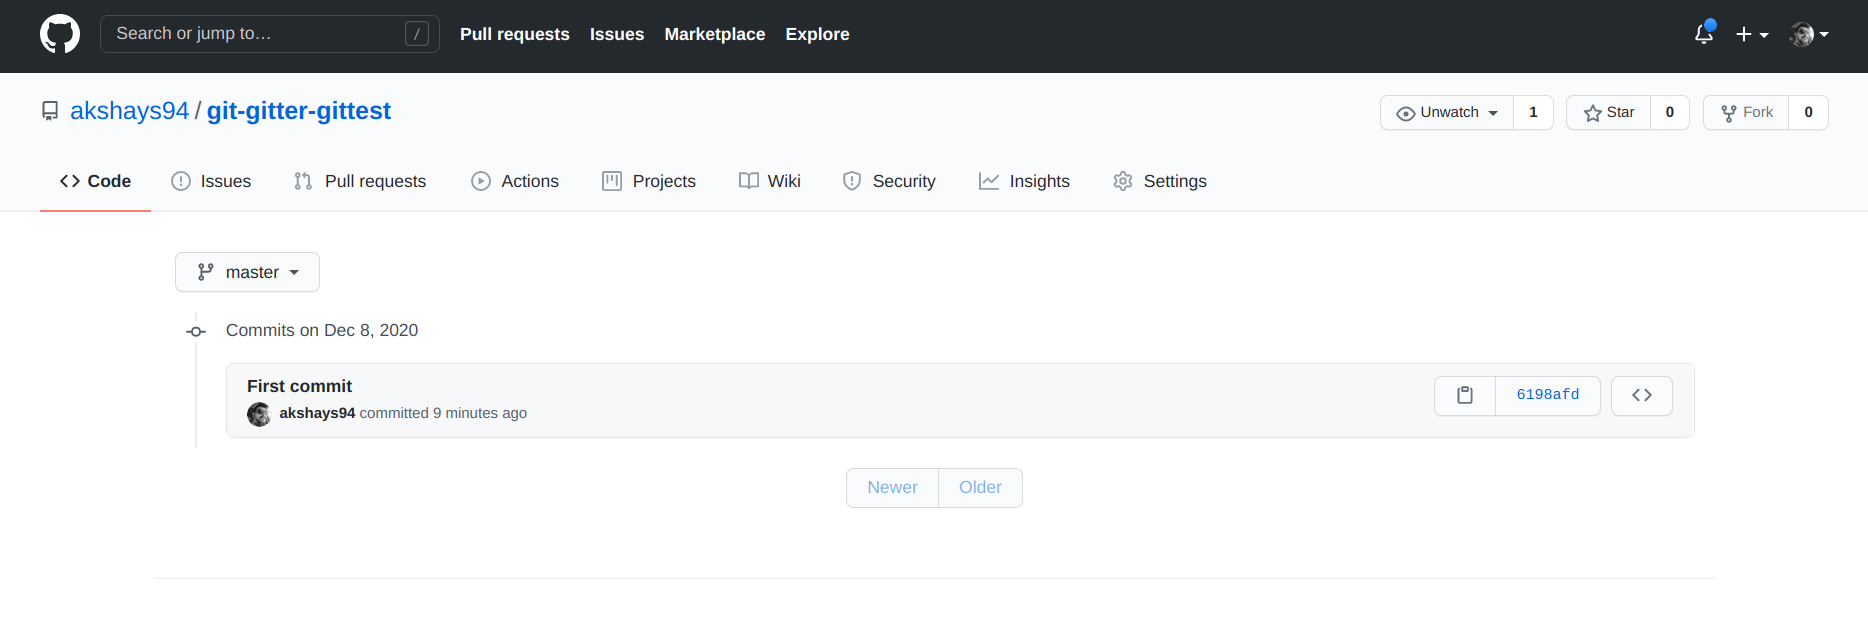
The `1 commits` link will redirect us to the commits page where we can see the `master` branch, the same commit ID, and the commit message.
Our local master branch and the remote master branch are in sync now!
We can check this locally in our terminal. Try `git log --oneline` again, the `HEAD` is pointing to `master` (the local branch master) and `origin/master` (the remote branch master).

If you came this far, Thank you!
The part-2 will contain the interesting and the most important topic - Branching and merging.